Wonderland Engine
repository: https://github.com/zestyxyz/zesty-ads-sdk-web/tree/main/wonderland
You will first need to create an ad unit on the marketplace in order to get started. Check out For Creators for more instructions.
Step 1a - Installing from bundled file
To use the bundled file directly, download it by right-clicking this link and saving it into your project folder: https://cdn.zesty.xyz/sdk/zesty-wonderland-sdk.js
Step 1b - Installing from NPM
If you are using NPM in your Wonderland project, install it like so:
npm install '@zestyxyz/wonderland-sdk'
Step 2 - Including the SDK in your project
If you've included the file directly in your Wonderland project instead of using NPM,
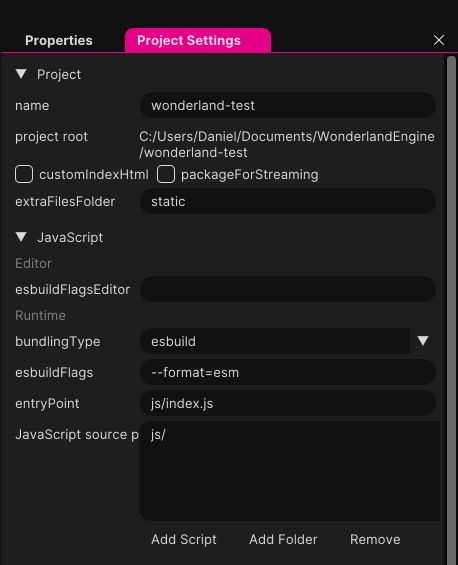
open your Project Settings view and make sure that the SDK is being included in your JavaScript source paths.
You can place it either in the default /js directory or manually specify the file location with Add Script.
Step 3 - Creating the banner object
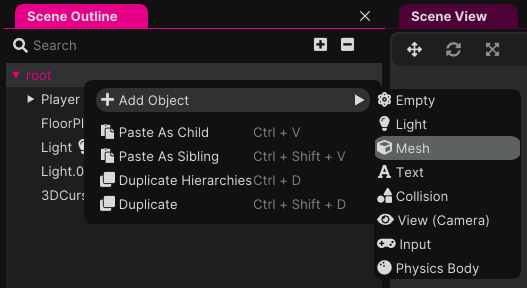
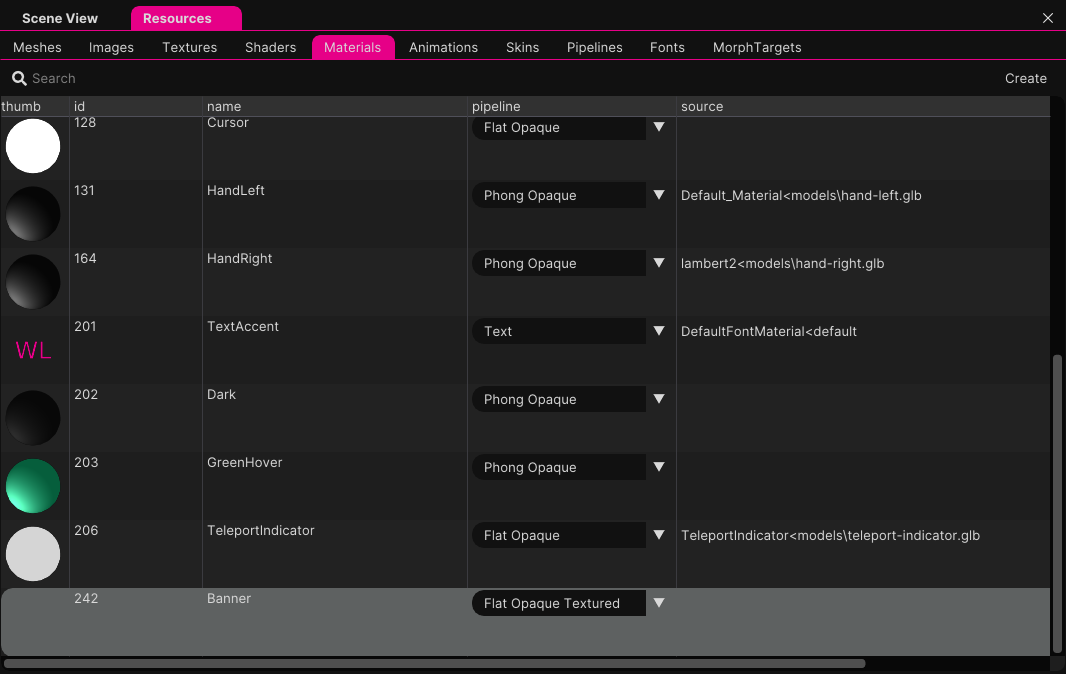
Create a new mesh, set its type to PrimitivePlane, and create a new material for it as well. Set the pipeline to either "Phong Opaque Textured" or "Flat Opaque Textured."
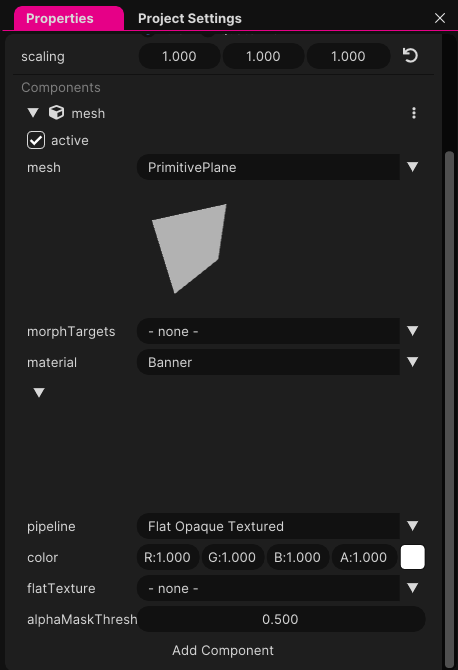
Step 4 - Adding the zesty-banner component
Add the zesty-banner component to your mesh's object and set the following required fields:
adUnit
- The ad unit ID specified on your marketplace page.
format required
Determines the aspect ratio of your ad unit. Valid options are billboard, medium-rectangle, or mobile-phone-interstitial.
- Billboard - 970 x 250
- Mobile Phone Interstitial - 750 x 1334
- Medium Rectangle - 300 x 250
The old formats of tall, wide, and square are still available for compatibility, but will be removed in a future release.
- Tall became mobile phone interstitial
- Wide became billboard
- Square became medium rectangle
style
- The visual style of the default banner when no ad is being served
- NOTE: This will soon be deprecated in favor of a single standardized default banner style.
There are also some additional options specific to the Wonderland Engine SDK:
scaleToRatio
- Automatically scale banner to the correct size ratio for the selected format
assignToAlphaMaskTexture
- Whether to assign the banner to the alphaMaskTexture property of the material
textureProperty
- The texture property (diffuseTexture, flatTexture, etc) to set on the banner material after it is loaded.
- Leave on "auto" to detect the appropriate property automatically
dynamicFormats
- Whether to use the latest version of
zesty-formatsfrom the Zesty CDN to determine available formats.- Because this functionality is loaded from a script at runtime, make sure to set Project Settings > serverCOEP to
unsafe-noneif you want to test this locally.
- Because this functionality is loaded from a script at runtime, make sure to set Project Settings > serverCOEP to
dynamicNetworking
- Whether to use the latest version of
zesty-networkingfrom the Zesty CDN for the SDK's networking calls.- It is recommended to keep this enabled to allow for updates to the SDK functionality without needing to rebuild your project. It should only be disabled if you are deploying to an environment where you cannot dynamically load scripts.
- Because this functionality is loaded from a script at runtime, make sure to set Project Settings > serverCOEP to
unsafe-noneif you want to test this locally.
prebid
- Whether to use Prebid/Aditude for programmatic ad loading (defaults to
true).- Setting this to
falsedisables Prebid and fetches ads directly from Zesty's ad server. - Use this if you need to avoid third-party cookies from demand partners.
- Setting this to
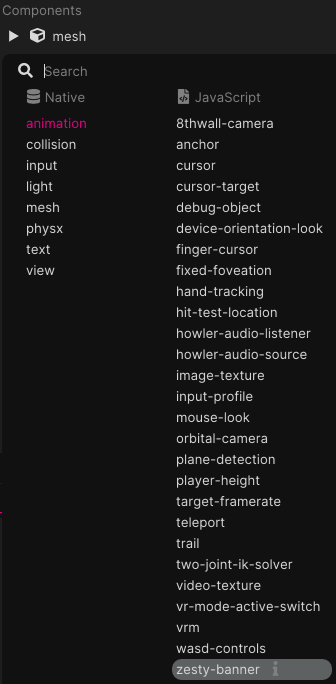
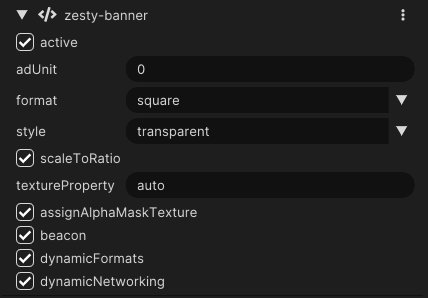
To opt into enabling the beacon for your ad unit, simply check the "beacon" box on the zesty-banner component. This will allow you to see analytics like visits and banner clicks within the Zesty app.
Step 5 - Making the banner clickable
To make the banner clickable, we need to add a collision component and a cursor-target component. Start by adding the cursor-target component, which should not require any additional configuration. Then add the collision component, changing its mode to aabb and fitting the extents to the plane we created. Keep in mind the banner will be resized to be the size of your specified format at runtime.
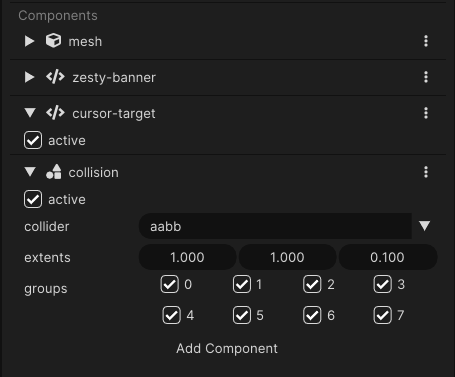
Step 6 - Run the test server
Before testing, ensure that serverCOEP in the server settings is not set to require-corp, as this will inhibit the function of the SDK.
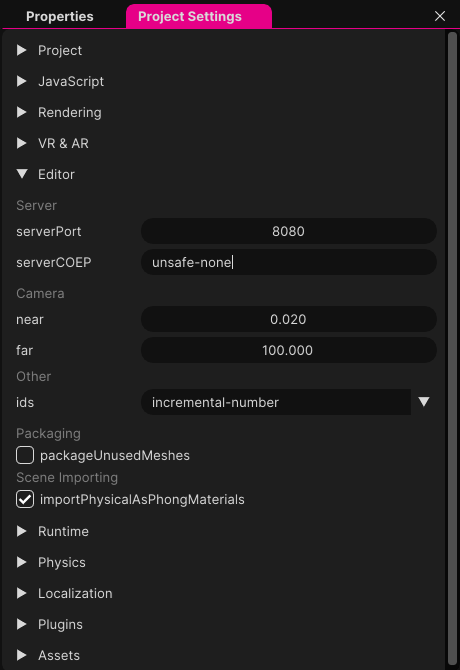
Once that's done, just press the play button to package, start the server, and open the browser to see changes.
Result
