visionOS
Repository: https://github.com/zestyxyz/zesty-ads-sdk-visionos
You will first need to create an ad unit on the marketplace in order to get started. Check out For Creators for more instructions.
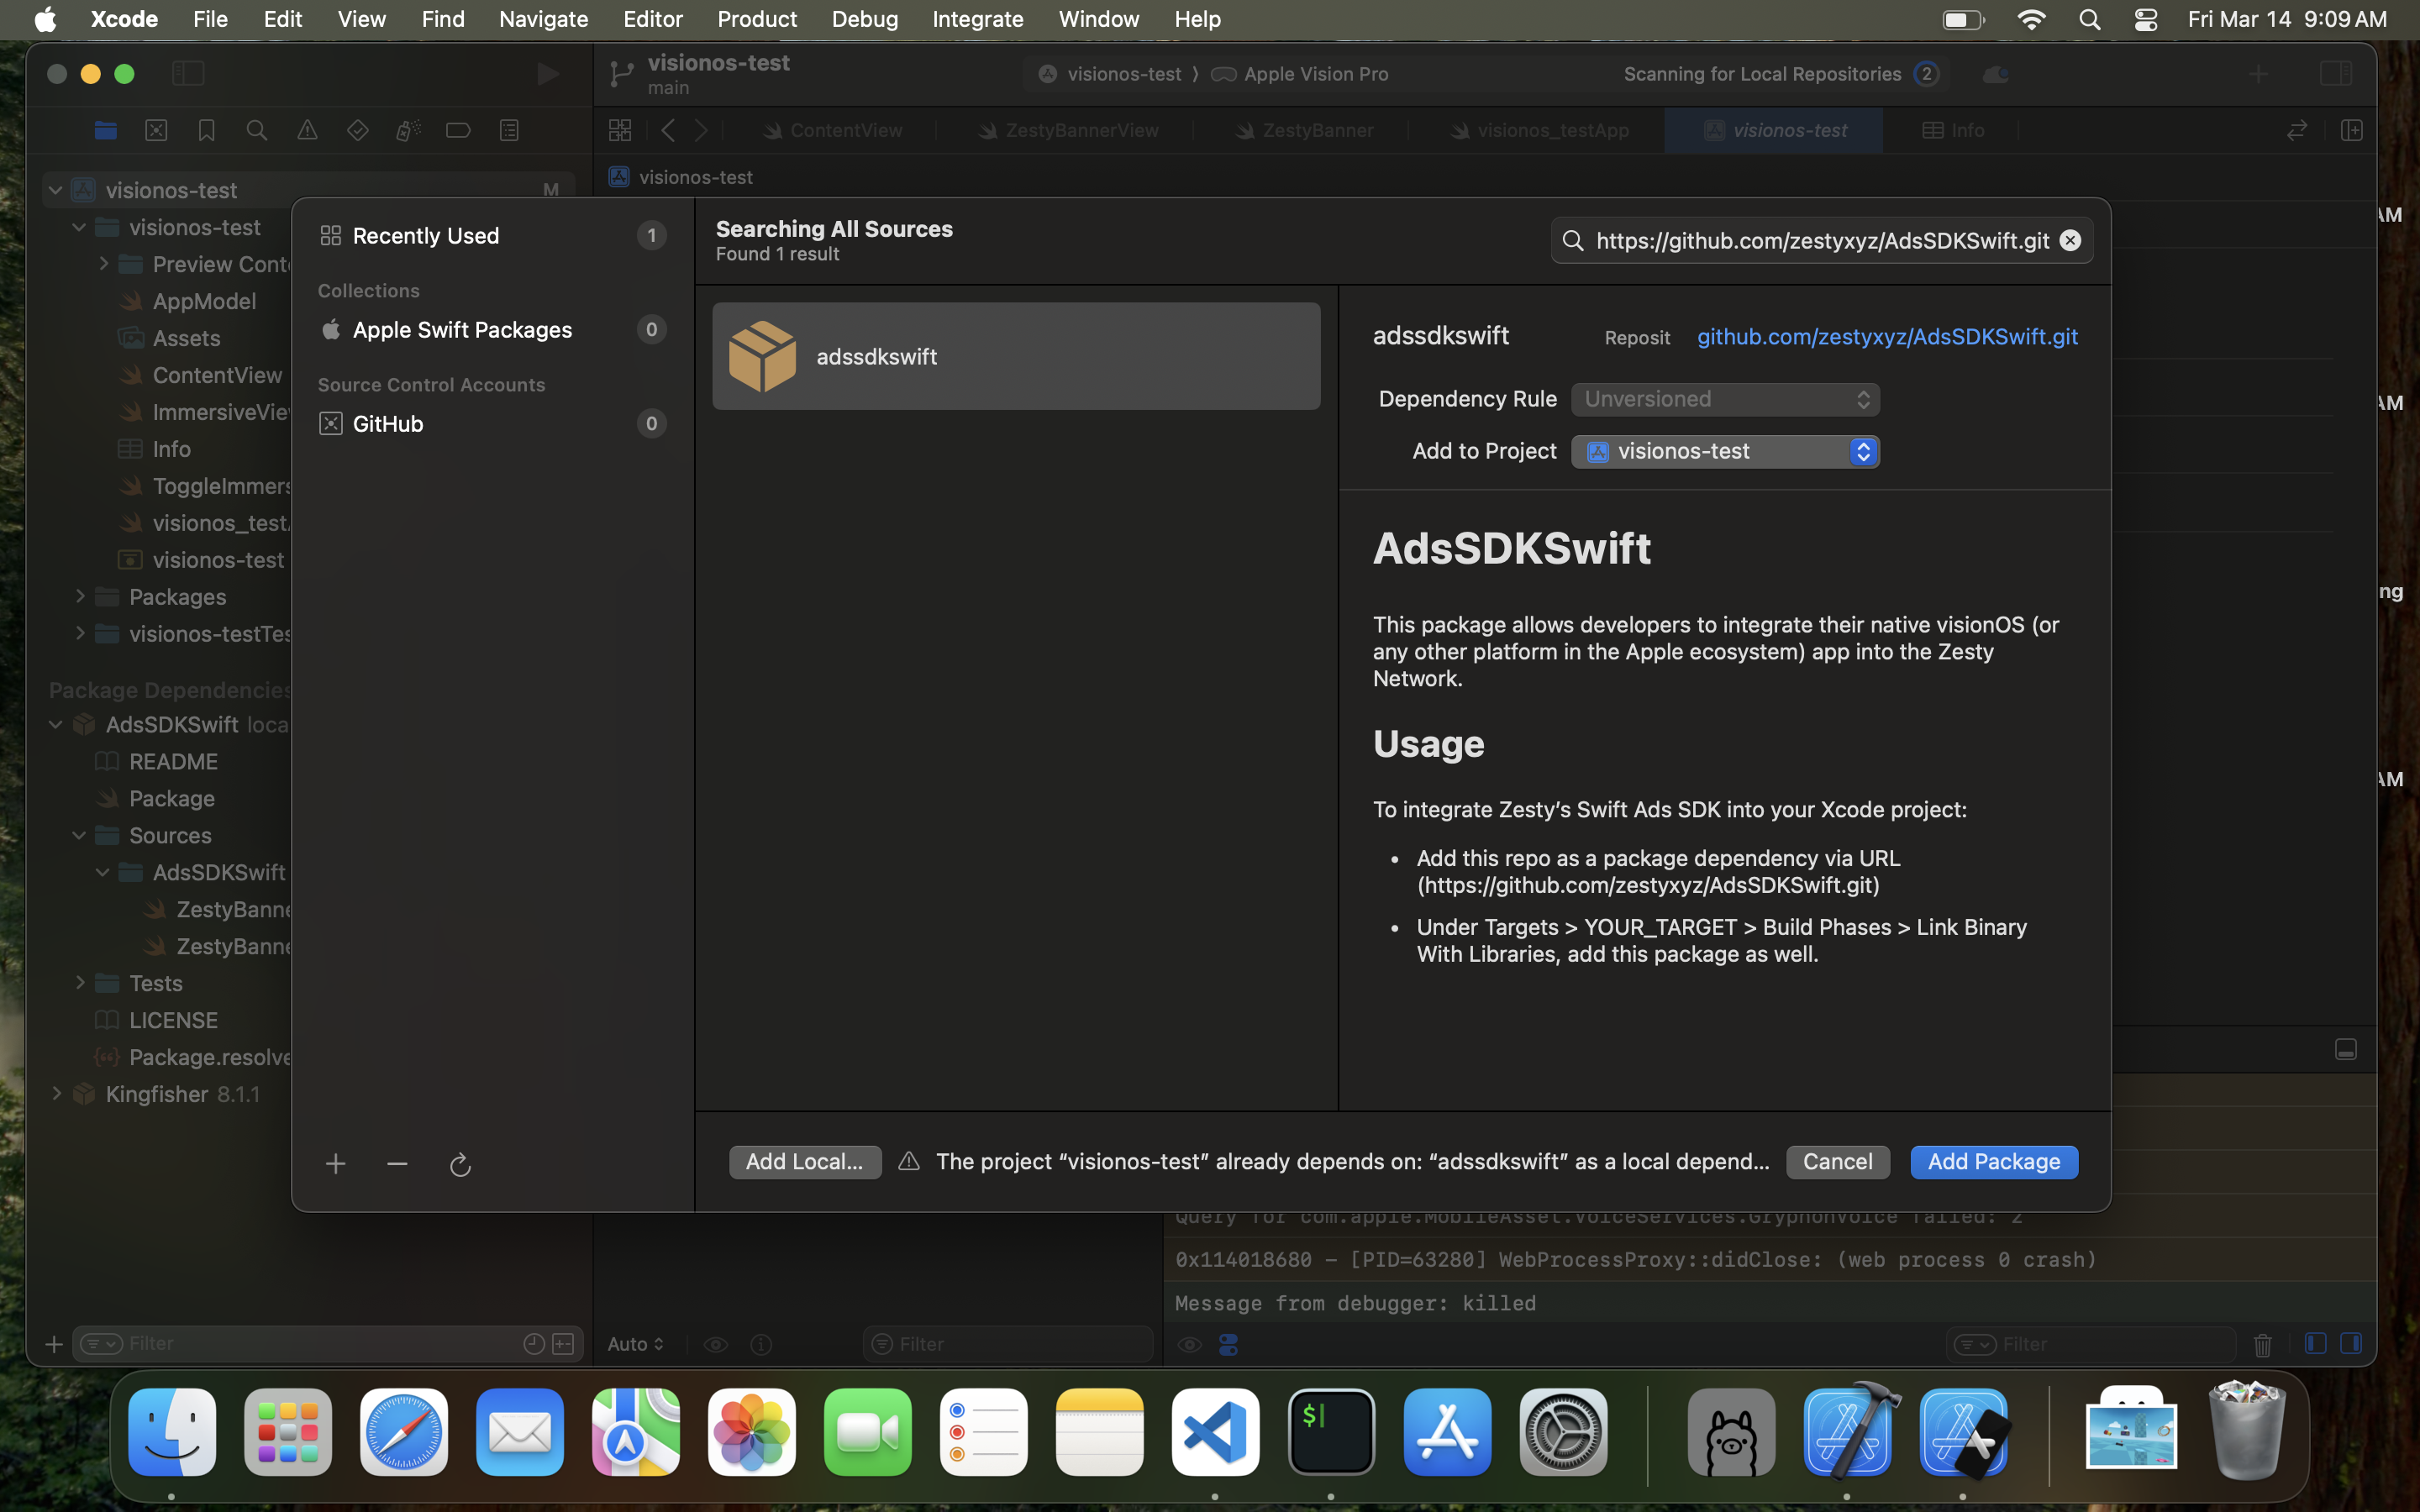
Step 1: Installing from Swift Package Manager
After creating a new project in Xcode, add the visionOS Ads SDK as a package dependency via the GitHub URL, https://github.com/zestyxyz/zesty-ads-sdk-visionos.git.

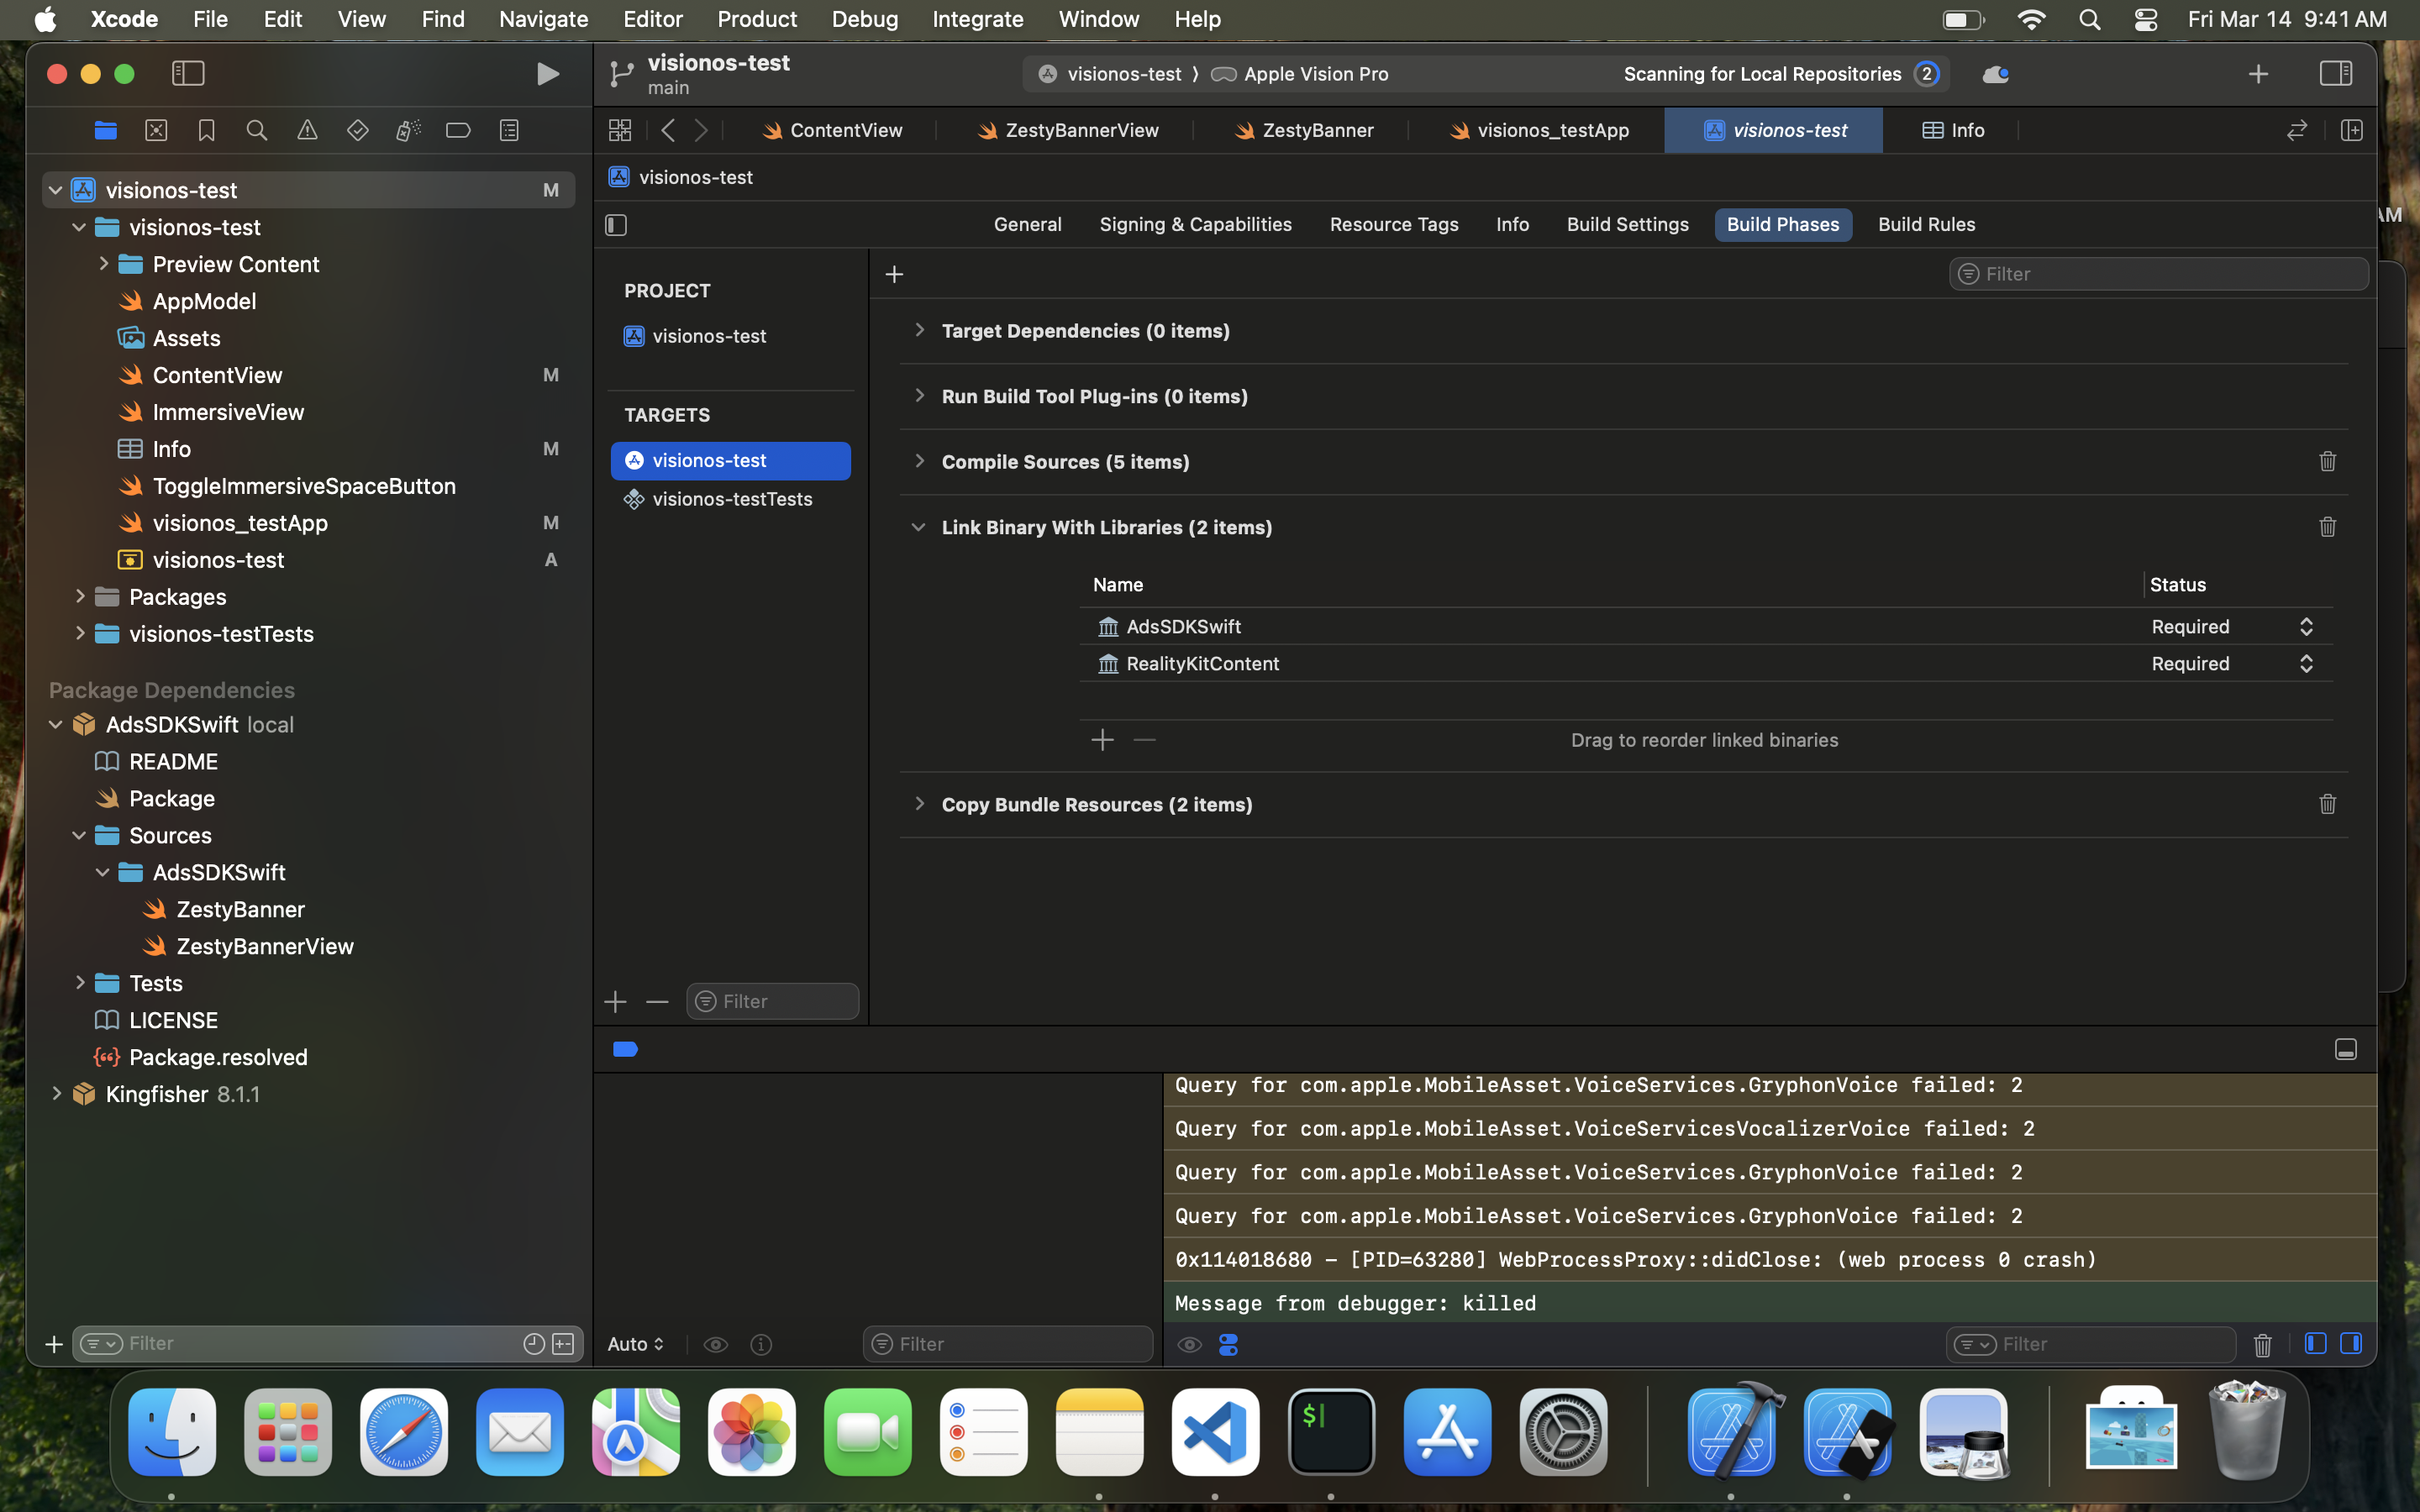
Step 2: Linking Binary With Library
Under Targets > YOUR_TARGET > Build Phases > Link Binary With Libraries, add the package as well.

Step 3: Creating a ZestyBannerView
In your SwiftUI file, import ZestyAdsSDK and create a new ZestyBanner like so, substituting your own ad unit ID and desired format:
import SwiftUI
import RealityKit
import RealityKitContent
import ZestyAdsSDK

struct ContentView: View {

    var body: some View {
        VStack {
            ZestyBannerView(adUnitId: "<YOUR_AD_UNIT_ID_HERE>", format: Formats.Billboard)
        }
        .padding()
    }
}
These are the available attributes for your banner:
adUnitId required
The ID of your ad unit. Must be a valid v4 UUID.
format required
Determines the aspect ratio of your ad unit. Valid options are Billboard, MediumRectangle, MobilePhoneInterstitial, or Video.
- Billboard - 970 x 250
- Mobile Phone Interstitial - 750 x 1334
- Medium Rectangle - 300 x 250
- Video - 1920 x 1080
width optional
A desired width for the banner. Should be a positive value.
height optional
A desired height for the banner. Should be a positive value.
If either width or height are passed without the other, the missing dimension will be calculated to preserve the aspect ratio of the banner format. If both width and height are passed, whichever value is larger will be used as the initial scaling basis. If neither are passed, the intrinsic size of the banner format will be used.
It's recommended that you pass width and height in order to best fit the banner within your content, as some of the larger intrinsic sizes may complicate layout.
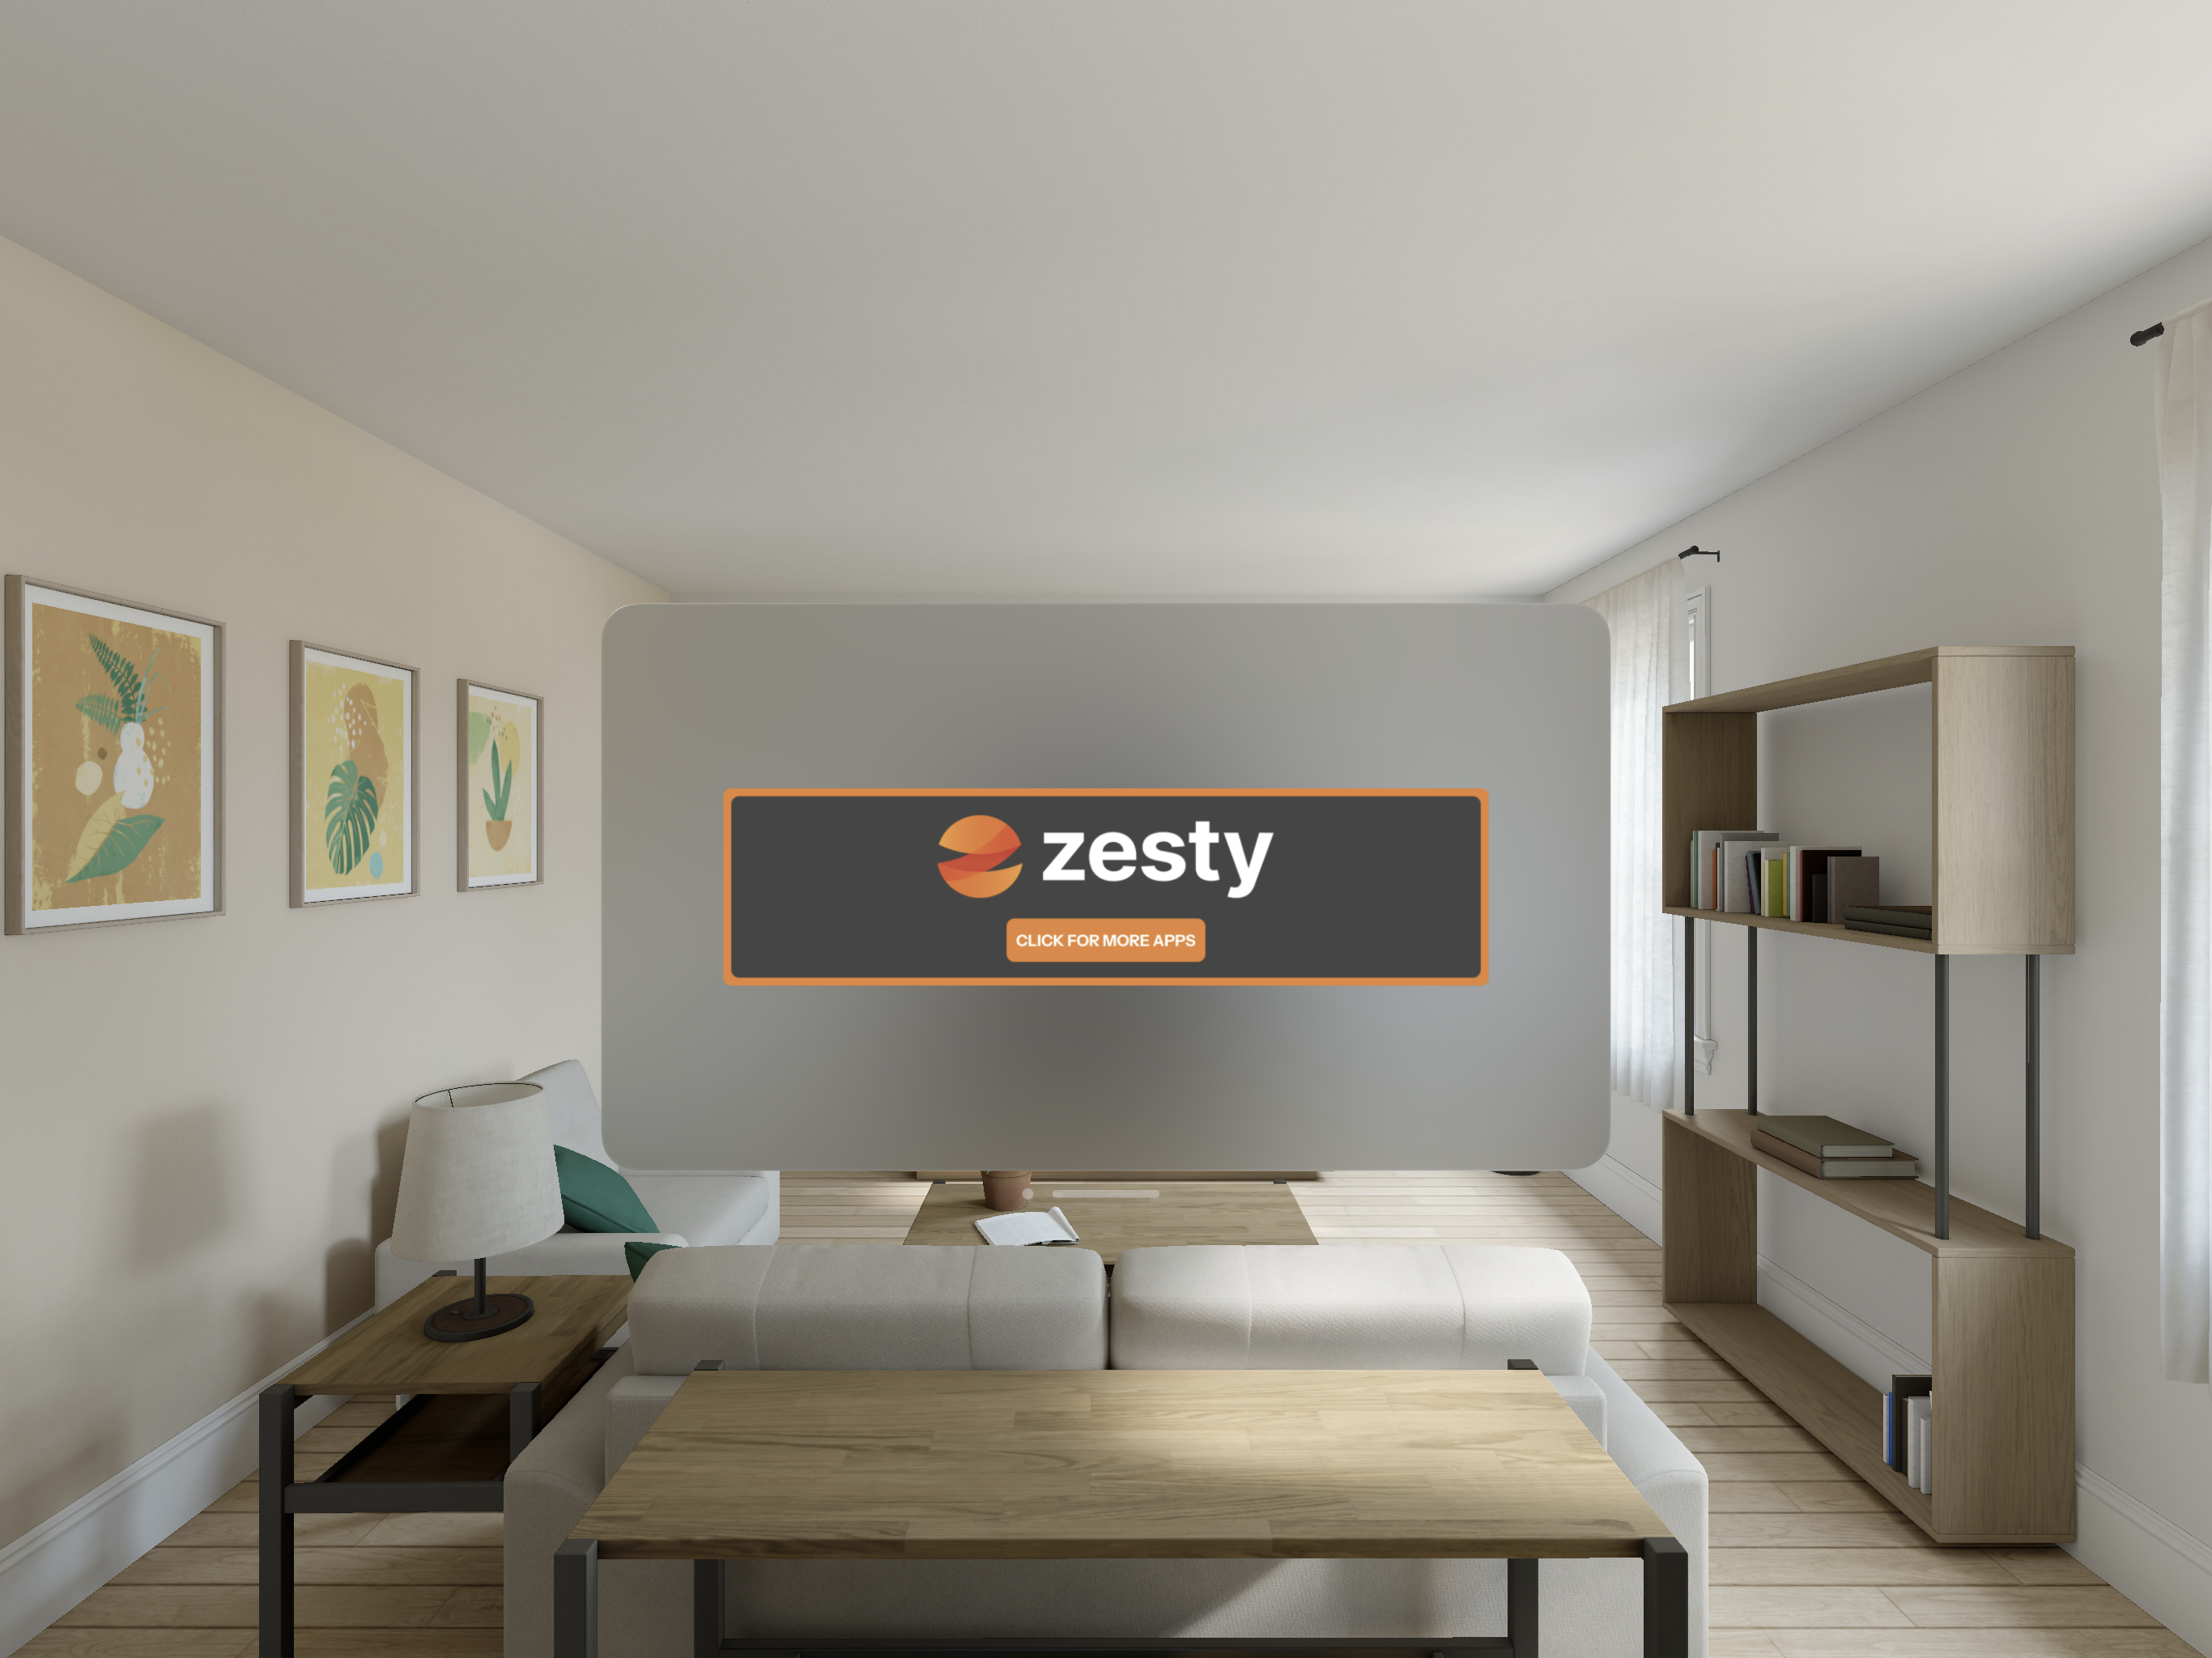
Upon running your project in the device simulator, you should see a view similar to below:
