Swift
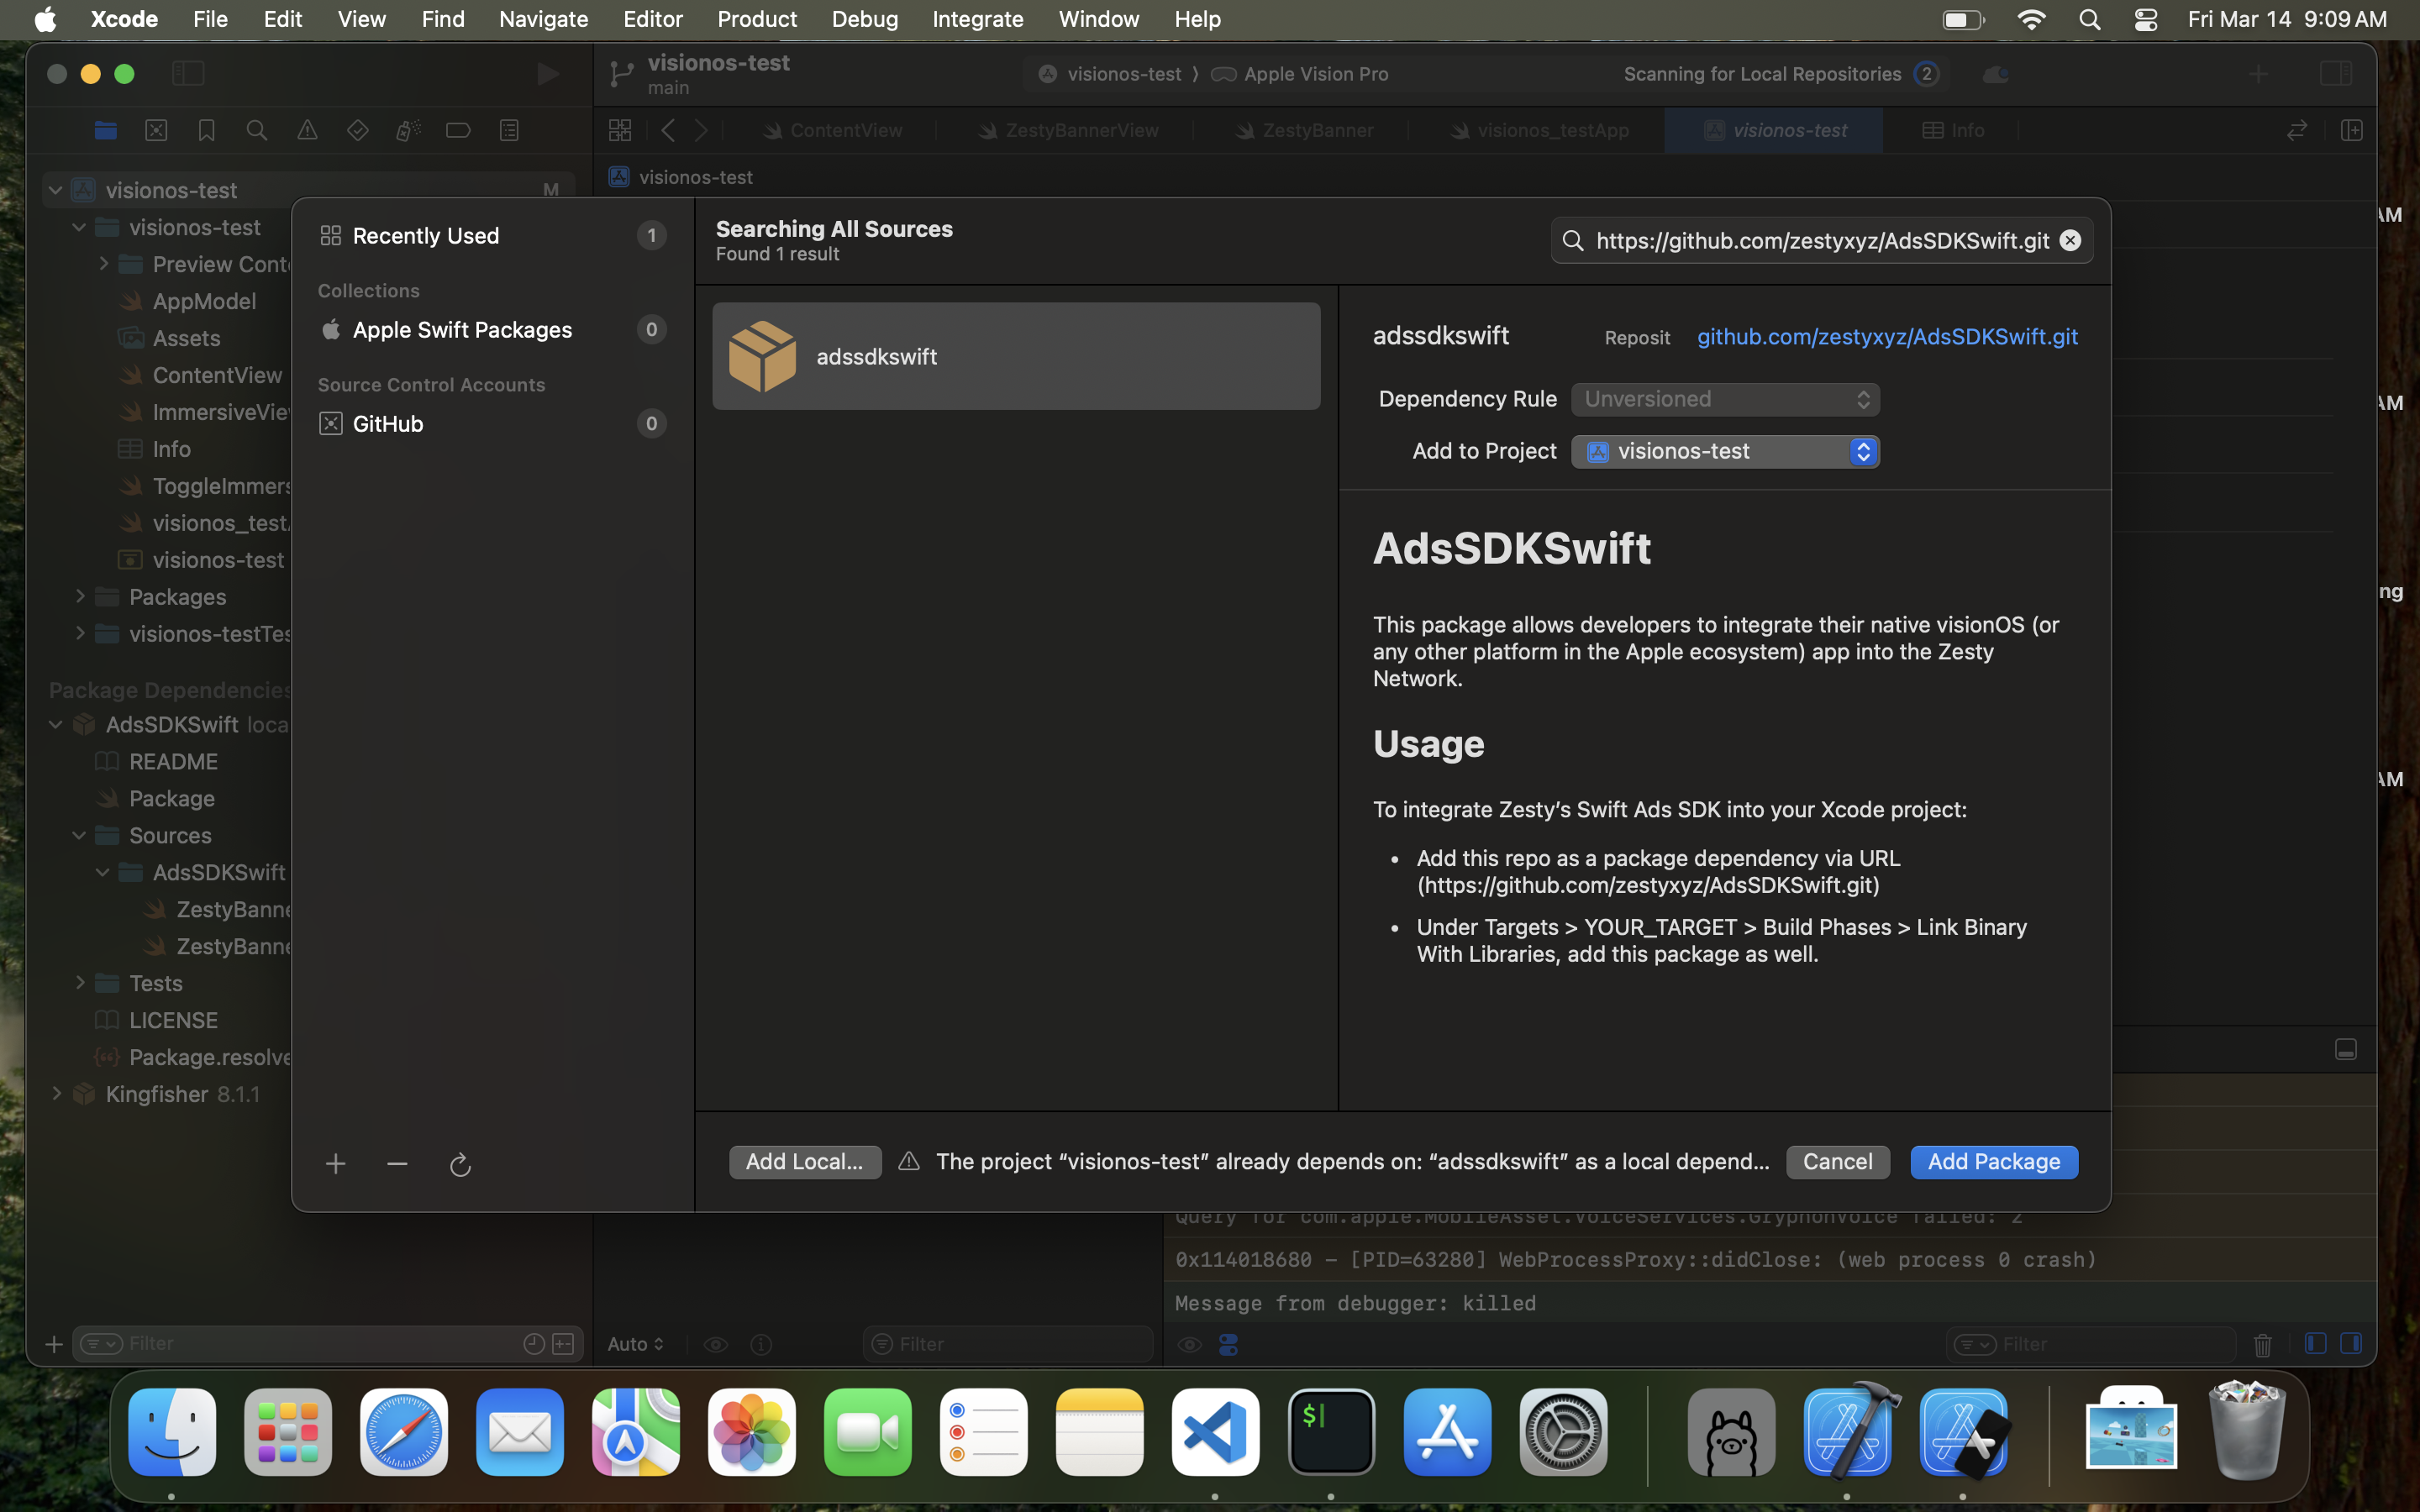
Repository: https://github.com/zestyxyz/AdsSDKSwift
You will first need to create an ad unit on the marketplace in order to get started. Check out For Creators for more instructions.
Step 1: Installing from Swift Package Manager
After creating a new project in Xcode, add the Swift Ads SDK as a package dependency via the GitHub URL, https://github.com/zestyxyz/AdsSDKSwift.git.

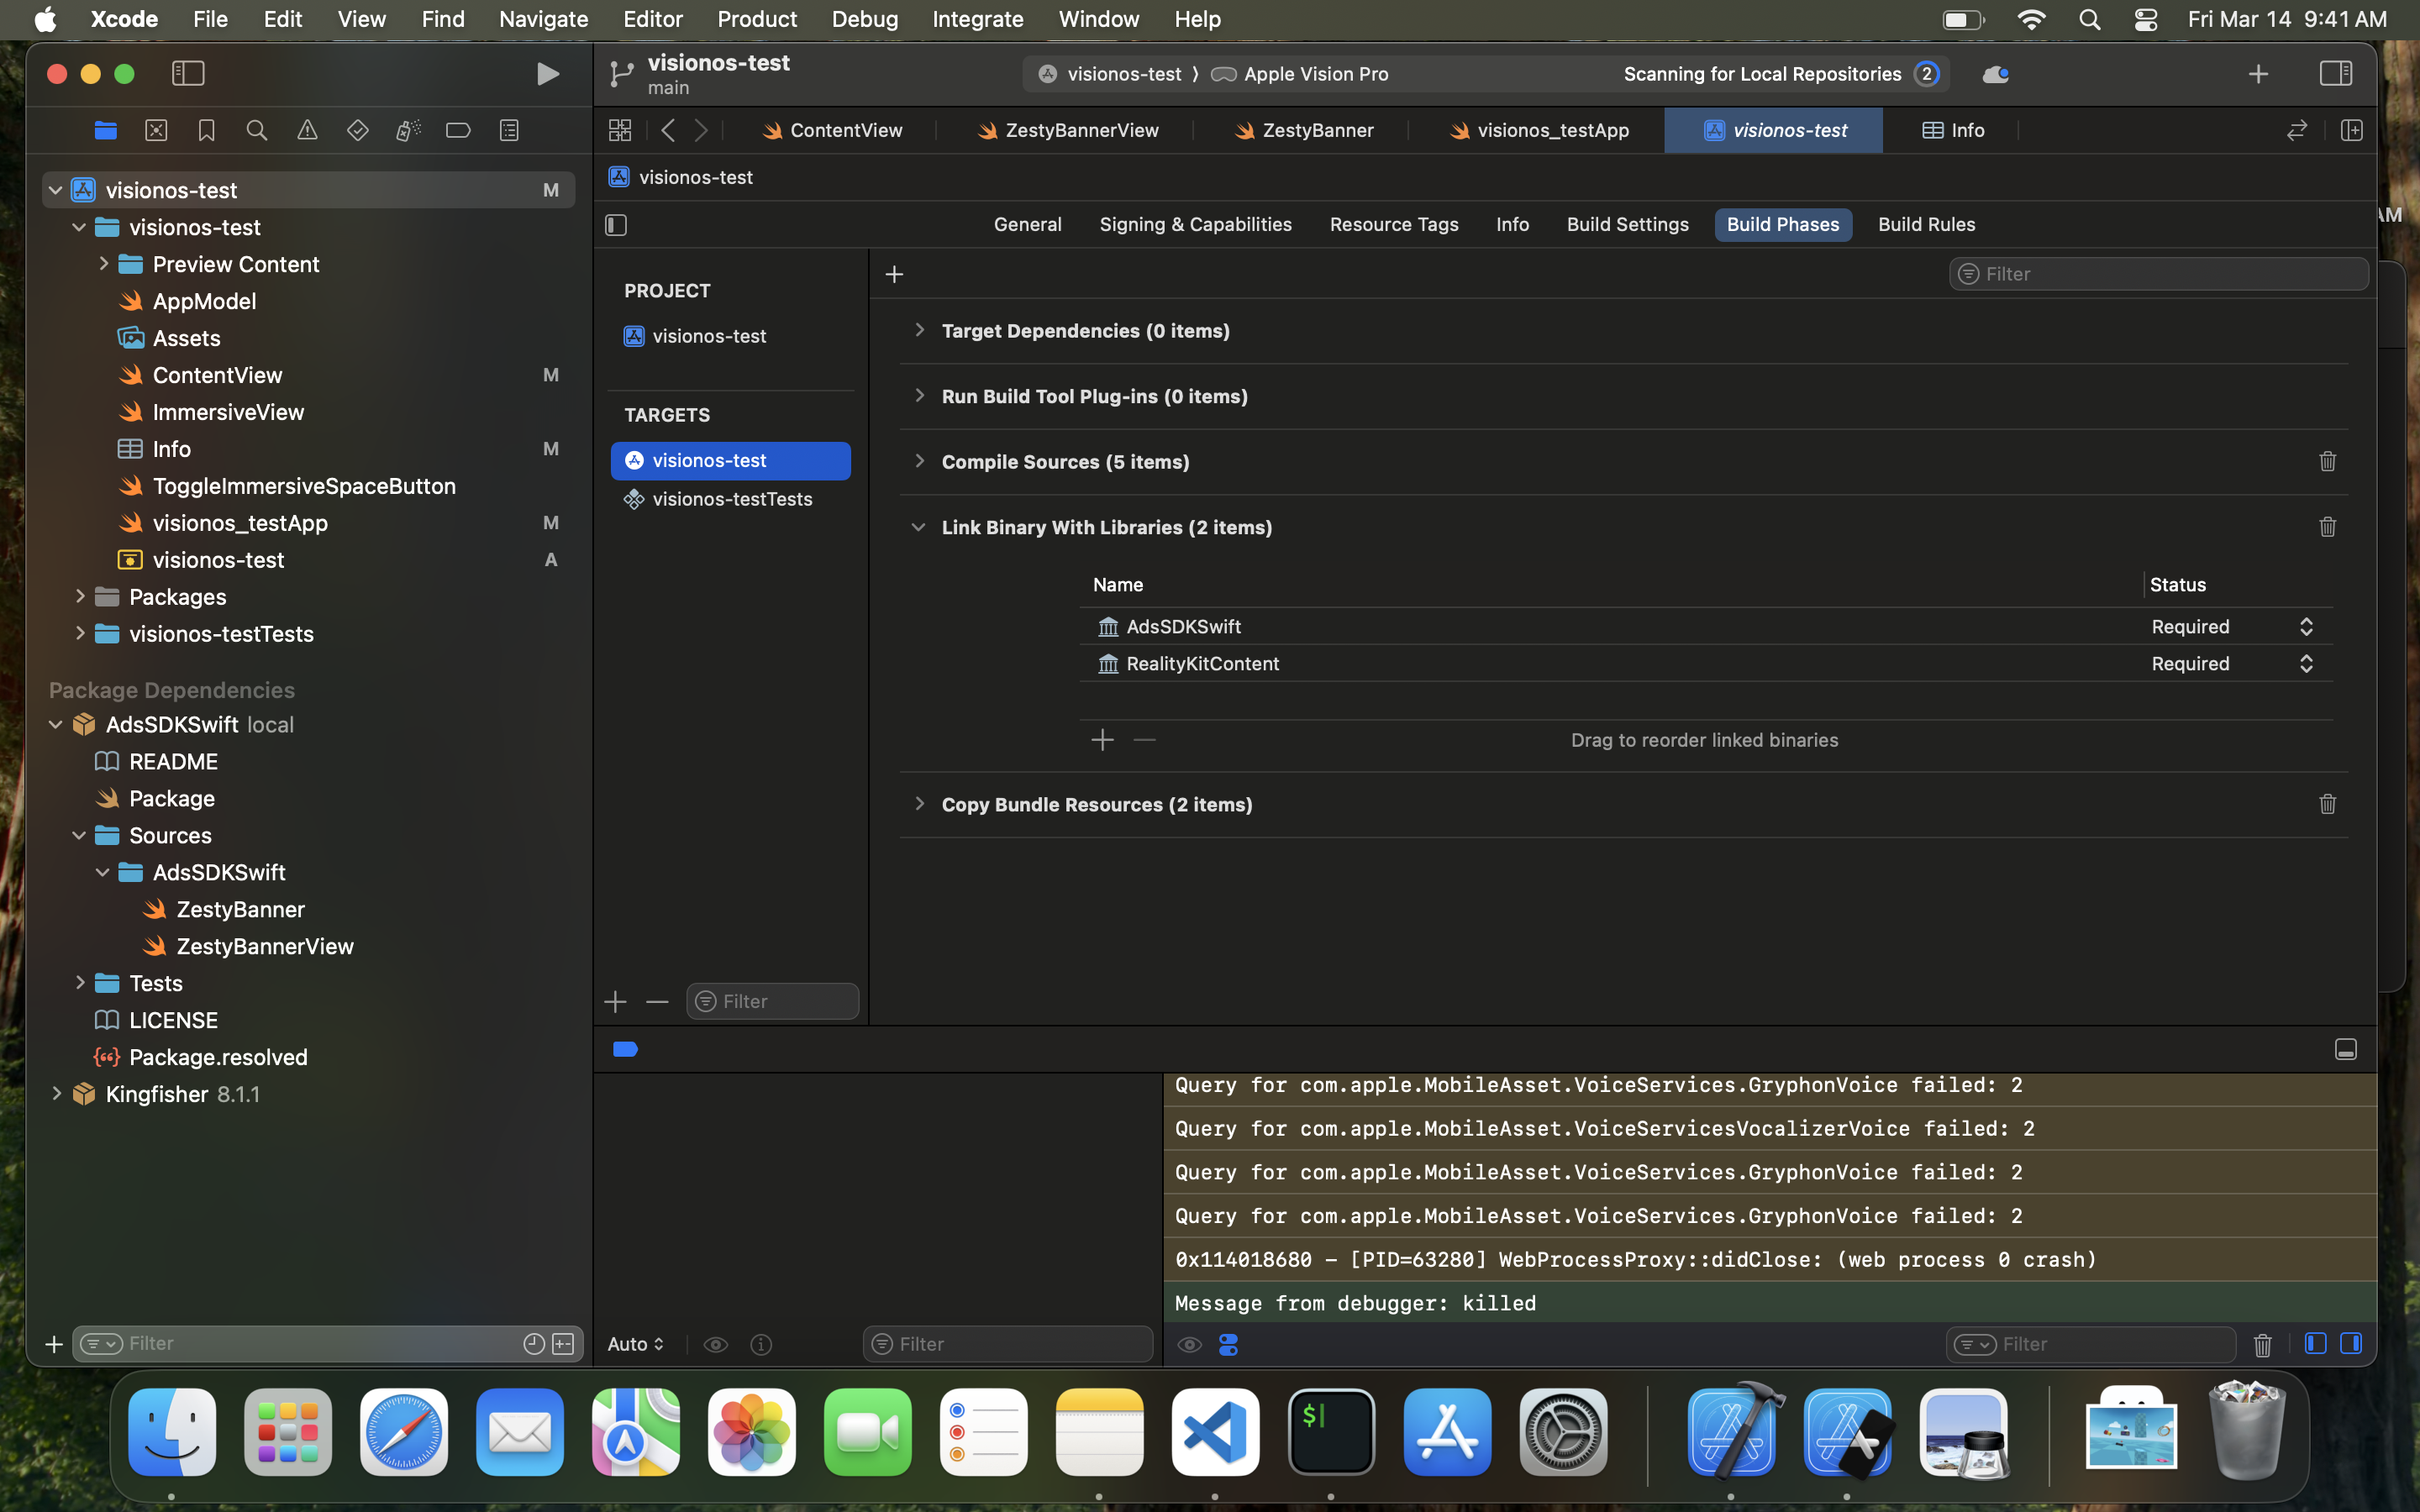
Step 2: Linking Binary With Library
Under Targets > YOUR_TARGET > Build Phases > Link Binary With Libraries, add the package as well.

Step 3: Creating a ZestyBannerView
In your SwiftUI file, import AdsSDKSwift and create a new ZestyBanner like so, substituting your own ad unit ID and desired format:
import SwiftUI
import RealityKit
import RealityKitContent
import AdsSDKSwift

struct ContentView: View {

    var body: some View {
        VStack {
            ZestyBannerView(adUnitId: "<YOUR_AD_UNIT_ID_HERE>", format: Formats.Billboard)
        }
        .padding()
    }
}
These are the available attributes for your banner:
adUnitId required
The ID of your ad unit. Must be a valid v4 UUID.
format required
Determines the aspect ratio of your ad unit. Valid options are Billboard, MediumRectangle, or MobilePhoneInterstitial.
- Billboard - 970 x 250
- Mobile Phone Interstitial - 750 x 1334
- Medium Rectangle - 300 x 250
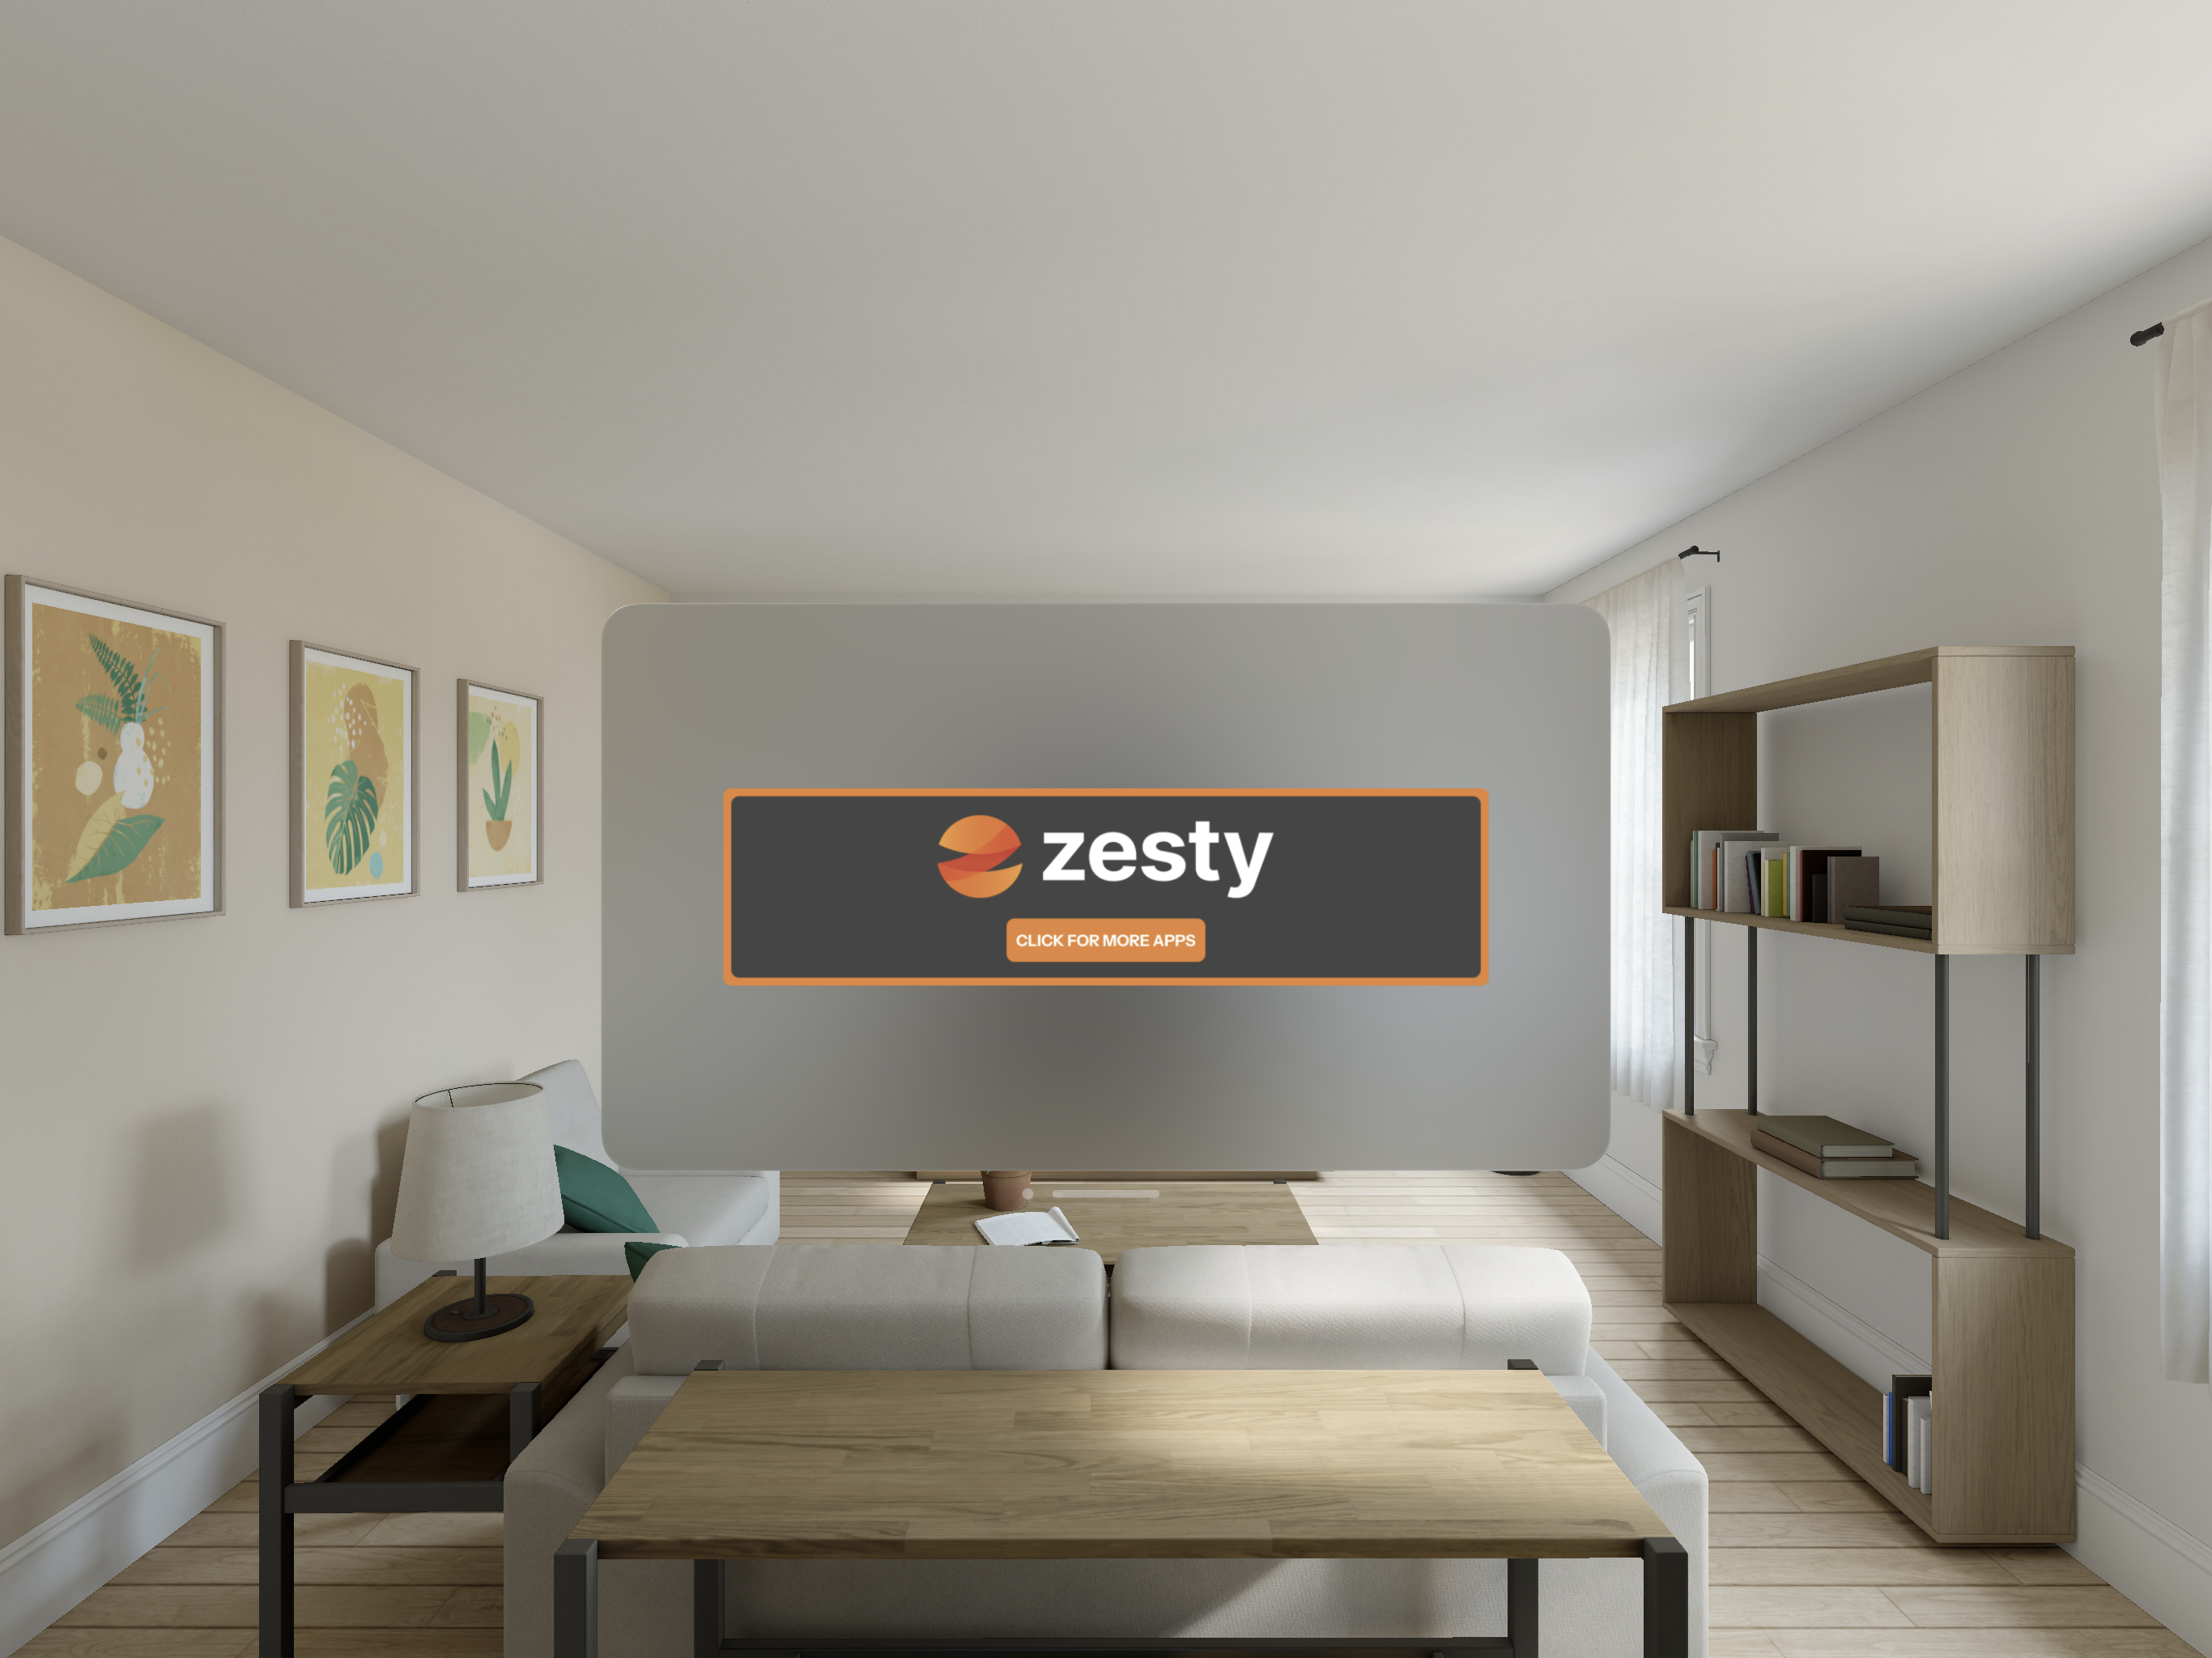
Upon running your project in the device simulator, you should see a view similar to below:
